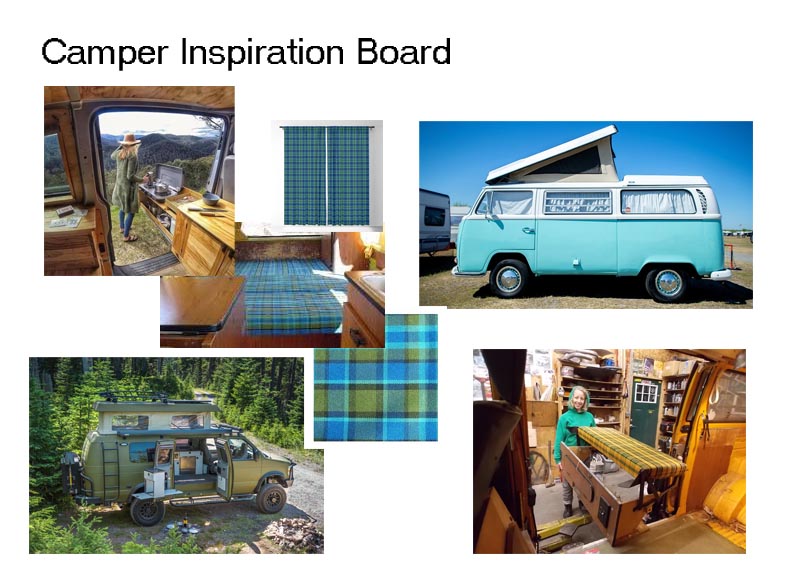
THE VW TRIKE
1970’s VW Trike kit: Restoring the chassis and building a new motor.

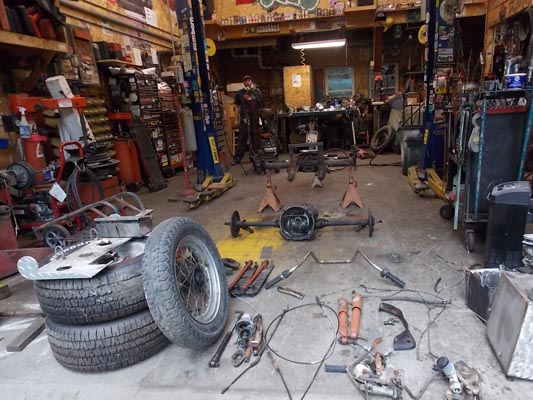
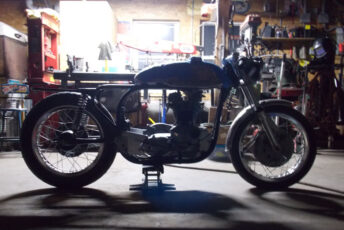
Tear Down
Assessing the bike I figured out what it is made from; a conglomerate of parts from the 1950’s- 1970’s. Some of which are hard to find. I tore the whole bike down to start from the frame and rebuild everything.


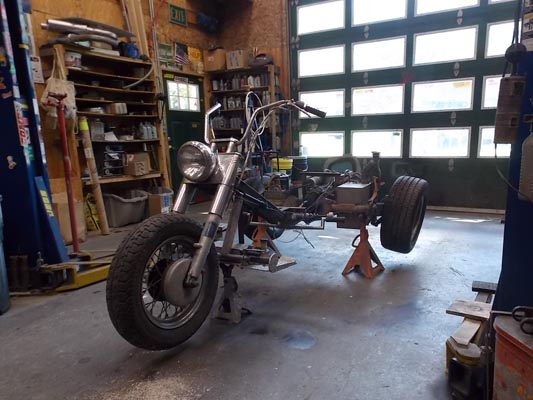
The Frame
Repairing and Fresh Paint
The frame was rough but it had potential. Over time people had added this and that, cut holes, snot welded them shut, etc. I repaired all of that and added gussets/plates to strengthen the frame.
Front End
Front Brakes, Suspension and Steering
I am rebuilding the front end which looked like it had been ignored for decades. I rebuilt the forks, replaced the stem bearings, added seals where necessary and replaced the front wheel bearings.


Steering
More Details...
The front end stem bearings were not protected from anything so I made an aluminum spacer giving the lower seal somewhere to seal to and made a felt top seal.


Clutch Pedal
Rebuilding the Assembly
The original creator put a hole in the top of the pivot, maybe for oil? Looks like a perfect spot to install a grease zerk. I brazed a nut over the hole with the proper threads to screw a zerk in.


Slave Cylinder
More Details
Mounting the clutch slave cylinder to the bell housing properly, running the lines, welding on the straps to secure the line to the frame, in the same fashion as the brake line.


Floor Board
Foot Board and Tool Box
I made proper adapters to mount the floor board to the foot pegs and milled a spot on the board flat to accept them. Also fixed the little hand made tool box and remounted it properly.


The Fuel System
Relocated and Enhanced
I relocated the fuel tank and enhanced the mounts using rubber isolators because it was coming in contact with moving suspension parts and there was evidence of crack repairs around the old mounting points.


Battery Tray
New
I built a new battery tray to replace the old aluminum battery box that was corroded.

Body Mount
Under The Riders Butt
Getting supportive. Something had to be done. The fiber glass was cracking so I made this mount to keep the fiberglass from flexing under the riders butt.


Luggage Rack
Scrapping the Ugly Bumper
The rear body mount was substandard and obtrusive. I built something out of site and way stronger. I made an angle iron frame that mounts to the underside of the luggage rack supported by two 3/4 inch tubes bolted to the frame horns.

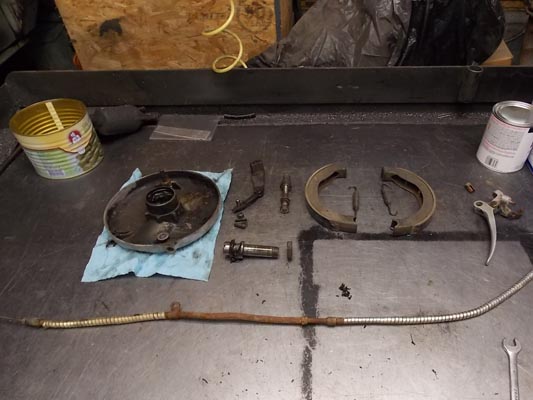
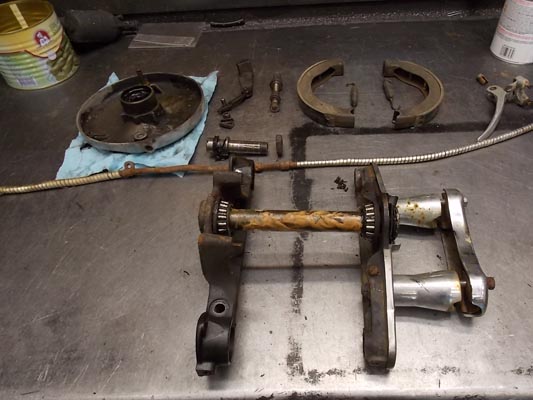
Rear Brakes
Bringing the Rear Brakes Up to Snuff
I like to consider the ease of repair in the future while I work. For example routing the brake lines in such a way the you can access them rather than illogically wrapping the excess around the frame, leaving no room for a wrench, like it was before .


Shifter
The Funky Shifter
I cut off the worn out shifter to correct it's geometry so it would engage the transmission properly and not hit the riders leg or passengers foot.


Electrical System
A Motorcycle and Automotive System Unite
The electrical system was a Boston street map full of switches, crimp connectors, and no fuses as someone attempted to meld various systems. Using relays and diodes I eliminated most of the switches and made things function as a more modern motorcycle should. And I put some fuses in there too, just for fun!


Rear Fenders
Bobbing the Fenders
I made mounts to attach the rear fenders to the axel tubes instead of how they were, flying out in space off the body with various bots, pipes and brackets. They are now tastefully tucked into the tire.


The Transmission


Walk Around
Up Next...
Last but not least I am in the process of building the engine. I know it sucks but, it is important to complete all the components of the vehicle that will support the engine first. Building a 1776cc engine with some mild port work and some other tricks to increase torque while maintaining fuel efficiency.